Wednesday, 2 May 2012

Showing Some Backbone, Trollblood Krielstone bearer and Stonescribes.


I've finished more of my WPS Challenge Army list painting. I only have 3 and half weeks to get the rest of it finished now, and time is starting to running out for the project. 

I've now sent in my army list, so I know exactly what is left to paint, and its not going to be easy. its doesn't help that last minute changes to the army have meant painting more models.

Core of the army, finally time for some infantry. First up, and staple blueblood choice, The Krielstone bearer and Stonescribes unit, with Unit attachment.


Painting these guys, you can really tell they were from the first wave of troll releases. Not that the models are bad, but in places they are a little flat compared to privateer press' latest efforts. Nevertheless, its a unit painted and ready for the battlefield. 

Coming up soon, I have champions, fennblades and a host of solos. 

Keep a close eye. Now I've got hit the painting table, so much to do!

Gonders

Sunday, 22 April 2012

Trollblood Light Warbeasts, Troll Axer and Troll Bouncer

I've been hard at work on the trolls these last few weeks. I've got 5 weeks after this one to get the two 50 point lists ready and painted for the WPS club challenge. So far, you're seen a couple of lights, a Dire troll and Jarl Skuld, my first Warlock. These two will round of all the beasts I'll need for the beasts, with the possible addition of a Dire troll bomber if I get round to it.

So first up, a troll Axer. I painted this guy when I first start the trolls, but I've not got round to posting him up yet. I'm quite happy with the battered metal of his armour, an effect I achieved with several layers of sponging highlights and rust coloured paint following a gunmetal basecoat and black armour wash.


I am a fan of the little whelp sticking his head out too!


 The bouncer is a more recent addition to the army. Same paint job again and it works just as well on his big shield.


And the rear shot the same.


Both of these beast will be in my second army list, lead my Madrak Ironhide, as they fit hime much better than Skuld.

So that's it for the minute, though I do have a backlog of models to post on here I've painted so far. I have a couple of infantry units to post, and I've been building a warwagon this last week too...

Keep your eyes out, 

Gonders


Saturday, 7 April 2012

Jarl Skuld, The Devil of the Thornwood.

By now, I've defiantly decided it s trollbloods for me at the WPS tournament in may. I've been practising hard, and when not playing, I've been painting up the blue men to get 2 50 point steamroller armies ready for the event. This is why I've not posted for a week or two.

Anyway, one of the Warlocks that jumped out at me when I first looked at the trolls, was the new guy, Jarl Skuld. Looking at his rules he's got more tricks up his sleeve than the average trollblood. This probably appeals to my inner cryx player.

So here he is, ready to shoot folk up for their money. By which I mean, for the good of the Thornwood kriels.


I'm Getting the hang of painting from white now, and I'd like to say its improving my painting skills somewhat. It forces you to be more thorough, otherwise you'll be left with glaring white in all the recesses. This is also my first attempt at troll tartan. I'm not sure how well it turned out on him, but there's time to practise!

That's it for the minute, but there's plenty more to come.

Gonders

Friday, 23 March 2012

Blue Rage, A Dire Troll Mauler.

Following on from this week's Extreme Dentistry post, I now have the pictures of the finished Dire Troll mauler I've been painting recently. This guy is actually one of quite a few Trollblood mini's I've been painting recently.

Simple enough, on to the pictures!


I wanted to do sightly different skin tones for each of the Trollblood species. The dire trolls are going to be a little bluer than the fullblood Troll, who have a green tint.


Having said that, after I'd highlighted him, he looked a bit plasticy. I solved this with a purple wash so his softer areas.


So there we have it. One troll, ready to tear someone a new one.

Gonders

Wednesday, 21 March 2012

Extreme Dentistry, Replacing a Dire Troll's Gnashers.

As mentioned in the couple of posts, I've bought some trollbloods off a friend to try and teach myself the HORDES system in time for me to play this tournament in may.

Part of the deal was a dire troll mauler, which despite not having been painted, was unfortunately missing his bottom rather large fangs.

As it happened, I didn't have a spare pair to hand, but I did have my trusty dremel, a bunch of paper clips and some greenstuff to hand...

Open wide and say 'Arrrrgh...'


 First up, I drilled out the recesses in his gums where his teeth would normally sit. Quick blast with the dremel here with a 1.8mm bit makes light work.


Next up, I cut some paper clips to about 10mm and glued them in. Once these dried, it was easy enough to bend them into a slight curve in the shape his teeth should've been with a pair of clippers.


After this I flattened a lump of green stuff into a rectangle, about 18mmx4mm, and wrapped it round the paper clip, pushing the end into the gums. Once the gum-end held, I twisted the other end like a green flump, and gently stretched it into a point. Kind of hard to describe, but the best I've got!


Repeat, then leave to dry. Once solid, I filled any gaps and he's ready to rock 'n' roll.


Keep an eye out for the finished pictures of his paint job, coming up soon!


Gonders

Sunday, 11 March 2012

How to paint Trollblood Skin, step by step.


In this blog, I'm going to try and make a proper hobby article, rather than just showing you pictures of what I've painted recently. In my last post I showed you a troll Impaler I painted over a white undercoat, and this is going to show you how I painted the skin tone on the model step by step. 

The first thing I want to do with a skin tone, for any model, is get some tones in there that make it look like living tissue, rather than the plasticy base flesh colours straight from the pot. That said, as troll skin should be a turquoise or blue kind of tone, I was going to struggle to do this. blue isn't really a naturally living colour. With human skin, adding some purples or green often helps set the tone, but with blue, you'll just end up getting a different shade.

Next, I didn't want the troll to be bright blue like a smurf. I also didn't have any of the p3 trollblood base or highlight colours, so I had to start from scratch. After a few minutes experimenting with the blues and greens I have, I came up with an answer. A mix of Cygnar Blue Base, and with a splash of Ordic Olive, and I got a more natural fleshy(ish) basecoat mix. With this mix ready to go, and a theory of what I wanted to achieve in my head, we can start painting. 

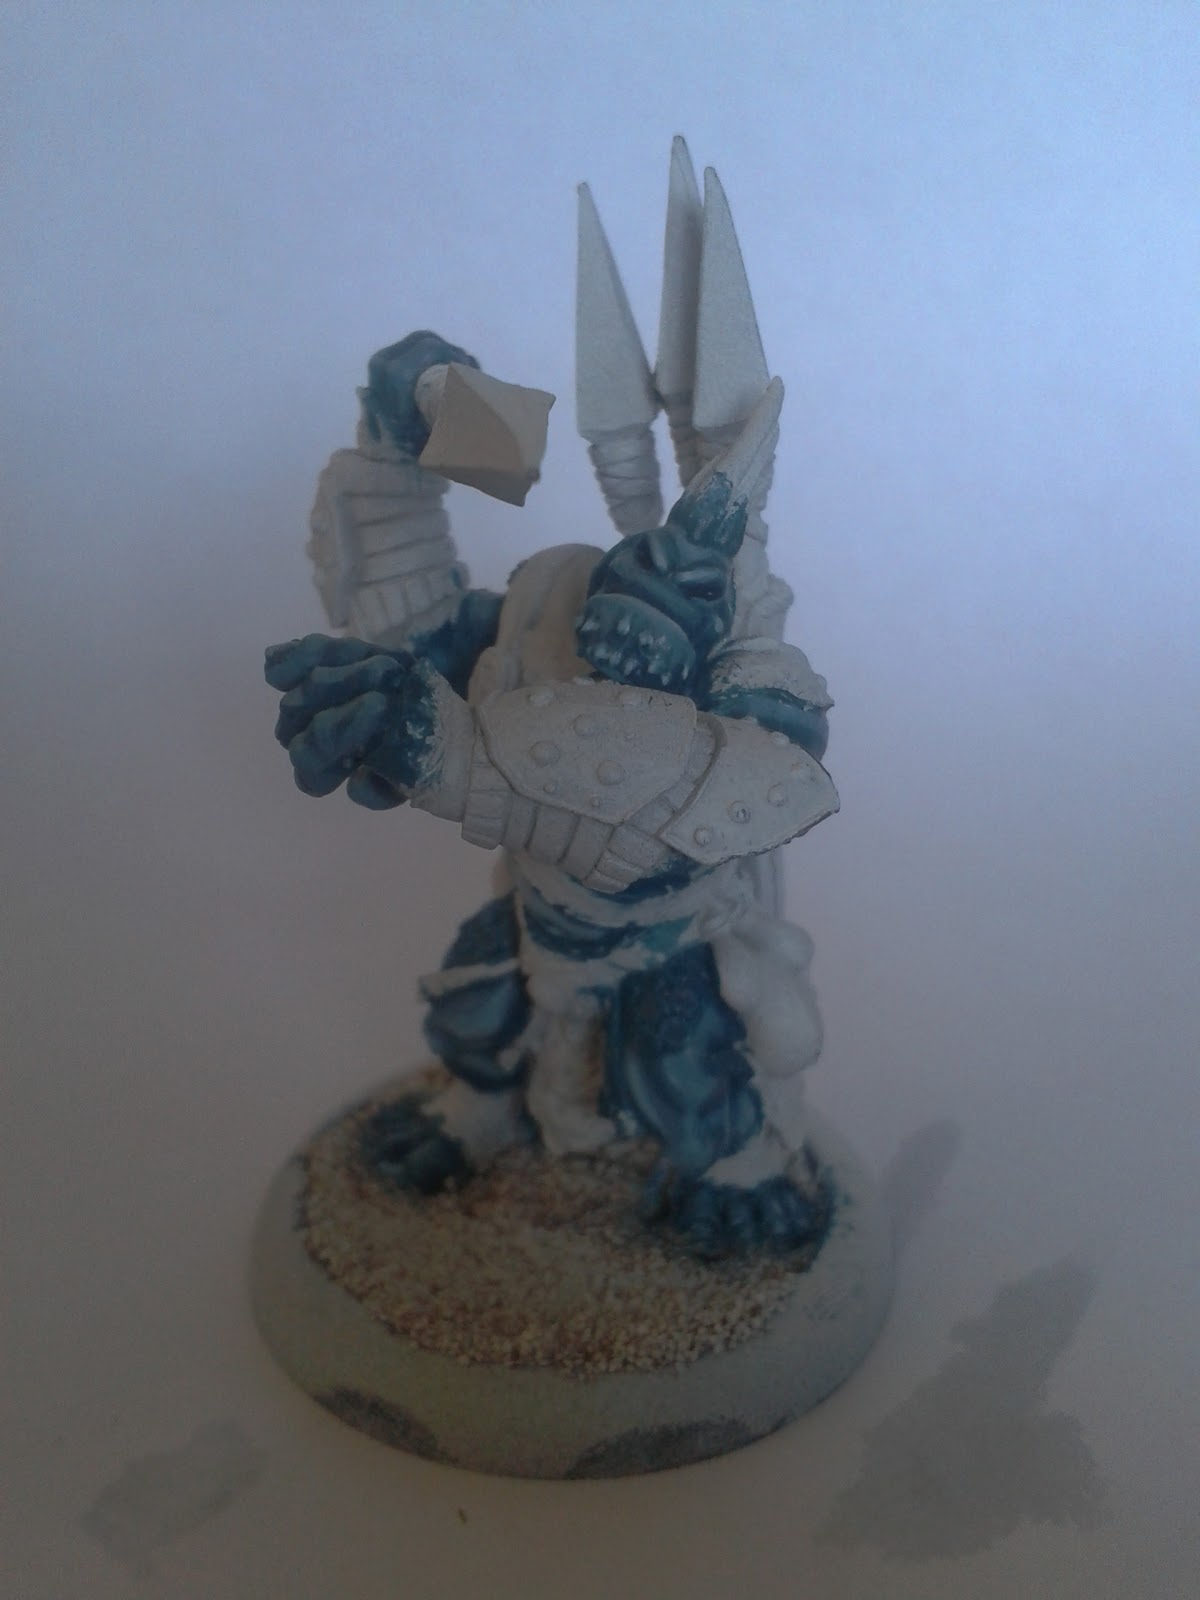
1. Give all the skin areas a careful base coat of 4 parts Cygnar Blue Base, and 1 part Ordic Olive. I tried to be careful, as its quite a dark mix, and any slips would have to be re-undercoated white later on. It took a couple of coats to get a solid colour.


2. Once the base coat was a totally dry, I built up the first highlight, simply adding another part of GW Skull white. I didn't leave much of the base coat showing, as I want a bright look on the finished model, so building the first couple of highlight is more like solidifying the base coat.


3. The second highlight is once again with another part of Skull white. Now the colour has begun to look more turquoise than blue. This stage is the first true highlight, and I started to think about where the light would catch his skin. Also, the inside of he legs and belly got a good blocking in, as these areas will receive a lighter highlight that the rest of the skin.


4. The fourth highlight is the final one for most of the skin. This is what I would call the 'Definintion Highlight' Once again, more skull white, another part, and the mix will now hit sort of sky blue, but with a hint of green. As you paint the highlight, paint a little further back into the shadows, so it doesn't look like his arms disappear into the shadows. The inside of his legs, belly and face, get extra care. Keep a sharp brush when following the lines of his face.


5. The final coat. For this I take 2 parts skull white, and 1 part of the highlight mix from stage 4, and mixed it to make a very light blue. The only gets applied to his face and belly and small quantities. Just touch the end of his eyebrows, a fine line on the top of his lip and the quirky hairy beard thing trolls get. After this i painted in his eyes and hair, so I could gauge how the rest of the model will look.


 So that's about it for troll skin. Note that it does look a bit greener now than it will when he's finished. This is because to the contrast between the white and his skin. Hope this helps the troll players out there! 

Gonders


Friday, 9 March 2012

The Great White Trollblood Challenge!

I don't know about you, but I can't remember the last time I painted something from a white basecoat.
Black is a much more forgiving colour, shades itself, and fits my painting style well.

However, with the upcoming tournament for Warmachine, and me having now got my feet firmly planted in the mark 2 rules, I realised there's a whole other tactical angle I've not even thought about yet.

Fury.

When we played mark 1, we stopped about 6 months after hordes was first released. We didn't give it much of a chance really, but now, Hordes is a whole other animal. Also, at the time of writing, I currently know no hordes players. This means I don't know how to fight them.

So without trying to make people play hordes just for my benefit, how do I learn the system? A guy I know was selling some trollbloods from mark 1, so I bought them up and am going to teach myself the basics of fury management before I get steamrolled by hordes players at the tourny in May.

I also saw this as a chance to challenge my painting skills too, as the trolls have a very cartoon looking style, my regular grim dark painting just wont do. I need bright bold colours, and for that, I need a white primer.

So its a twin challenge. Firstly, to teach myself what to expect from hordes, and second, to change my painting to fit the hungry trolls.

So I started off with my first Trollblood model, the impaler. Yep, out of focus I know, but its 2 primed models, what do you need?


Ok, so a bit of brush work and...

I've finished the first impaler, and he looks like this:


I'm quite happy with him, but he took maybe twice the time he would've with a black undercoat. Do the ends justify the means? I'm not quite sure yet.


So hopefully, I can get a small army of these guys painted up soon.

I'll be a step by step of how to paint troll skin this week too for any who want it.

Gonders