I'd Previously don't my imperial titan's plasma a rich green colour, and I thought if I could try the same green, but make it a little more washed out than the imperial version, I might be on to something. I did my best to wet blend it, and in this shot, it's still wet, though it dried smoother than this picture shows.
Next up was the Inferno cannon. Pretty standard stuff here to be honest, that same granite and metal as the rest of the titan. Perhaps the only thing worth noting at this stage is the sponged on scorched effect around the nozzle. Just a pure umber acrylic paint at this stage. Later on, this with get a blast of black weathering powder.
Next up, I did a quick test to see how the guns look in place. They aren't glued yet, it was just a test to check my teal-washed out green didn't clash to badly with the rest of the machine.
I'm quite happy with the overall look so far. There is plenty to do more though. In this shot you can see I've started to use washes to begin weathering and pick out some of the detail across the armour.
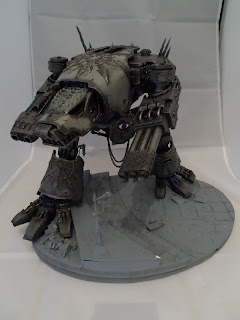
To shots to finish off of the titan. the exterior is pretty much painted, though still awaiting weathering. The interior, however, is where I'll be painting next.
After which, the base will start to get some brush work too.
Thanks for looking, til next time.
Gonders


No comments:
Post a Comment