
So remember I had a bitch of a job coming up? Grab your black paint, thin it down a tad, a little brush, and get blacking out the details. Everything on the guy that isn't going to be the white armour we did last time needs re undercoating black. This is part of the reason I've never been able to paint these guys before I think. It's a right pain!
Once I'd done that, I also painted the eyes and face in. This is because I wasn't sure how the overall model was going to look, and I wanted to check if the focal point(the face) was going to turn out OK. Small brush, starting was GW red gore base coat(this is after blacking out the eye sockets), then mix a little wazzdakka red in there, about 25/75. One more 50/50 highlight at the very bottom of the eye, and a tiny dot of white at the top for glare.
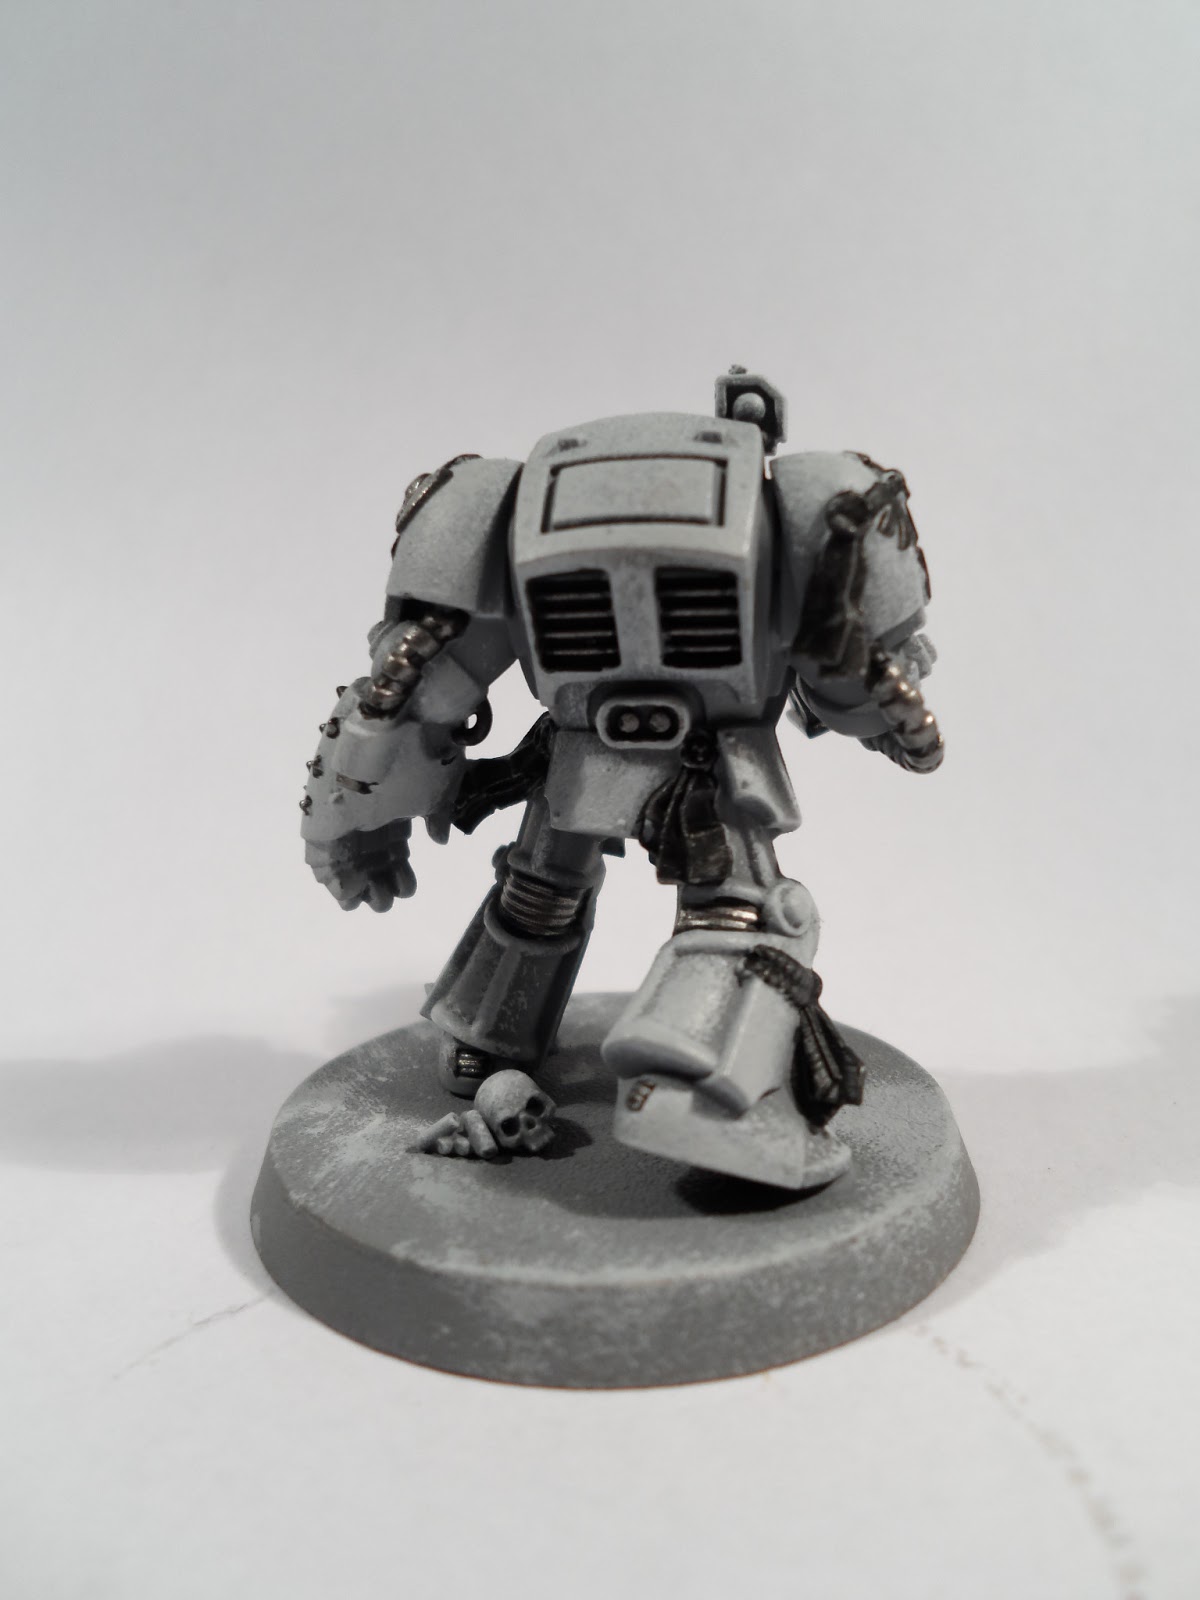
Next up, metals. I just went with a standard boltgun metal, then black wash over the top here. I guess I could've done more, but that is up to you. There's going to be weathering and damage a plenty to look at when you're done instead.

After that, I did the green parts. Mostly, this is the chest eagle. I guess if you're painting the new deathwing knights, you'd be going for the robes here too. A base coat of caliban green, with 2 highlights, the first, 50/50 Caliban green/snot green, the second, add a hint of bleached bone to the mix.

After that, hit the reds. Gun cowling, purity seals, lens'. Use the same method as on the eyes(see above) but without the reflected white dot.

Creams. I think this is why I did my deathwing in white this time round. When you paint them cream, all the paper and purity seals and ropes and such just blends in with the armour. This way, it stands out enough to see it. Beached bone, with a seraphim sepia wash. Then highlight back up, starting at bleached bone, then adding white for a couple of highlights.

I also hit some of the armour with a seraphim sepia wash. Only select places, but with the big plates and the white armour, it just helps to break it up a little. When the model is finished, it gets a coat of anti shine varnish that will sort that glare out.
When the purity seals are dry, get a little brush again and paint some lines as text, your best black templar's style.
With that the model is ready for weathering, which is going to come in part 3 of the trilogy!
Thanks for looking.
All feedback is appreciated
Gonders
No comments:
Post a Comment